

Quick & Easy No-Bake Pumpkin Pie Icebox Cake Recipe

Makes: 9 Servings
Per Serving: 12g Protein | 222 Cal

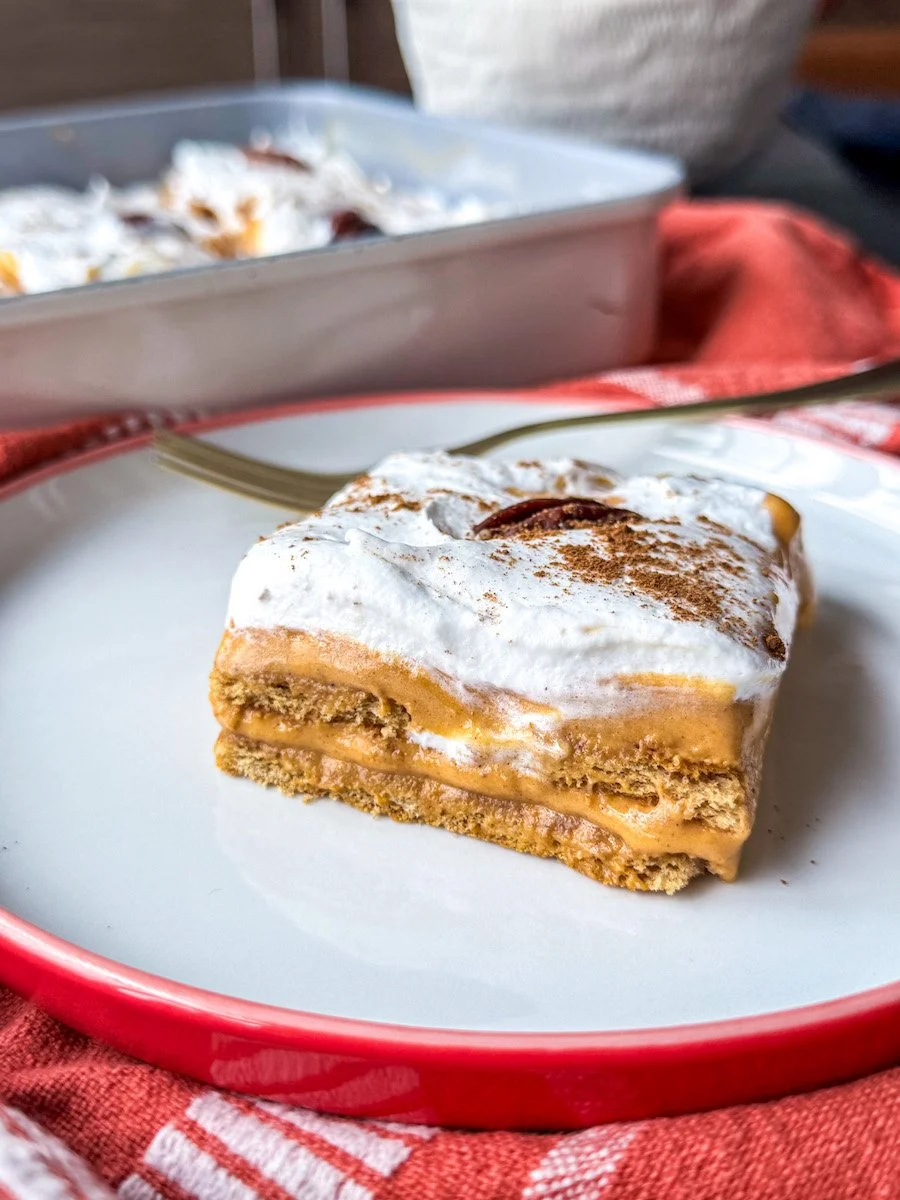
The calendar may say Fall, but if temperatures are still saying “ice cream season” where you are, you absolutely must try my newest icebox cake. Made with real pumpkin purée, sweetened with maple syrup, and packed with plenty of protein, this Pumpkin Icebox Cake recipe is a real winner.
Whether you’re looking for a healthy weeknight treat or want to impress your weekend guests with your (no-bake) dessert-making abilities, this recipe is super easy to make, contains 12g of protein per slice, and so incredibly fitting for this time of year.
Why You’ll Love This No-Bake Pumpkin Icebox Cake Recipe
No-bake dessert: All you have to do is mix, assemble, and chill for a delicious, pumpkin-y dessert.
Full of plenty of protein: Each slice of this ice cream-like dessert packs in 12g of protein, so it has real staying power.
Great for meal prepping or hosting: Whether you’re hosting a casual fall gathering or you’re looking to keep a sweet treat on hand all week long, this recipe delivers. It tastes like fall and is something you can feel good about eating.
A light and fluffy dream: Creamy, dreamy, and perfectly spiced, this pumpkin dessert is one you’ll want to make all season long.

Ingredients
1 can pumpkin purée
3 scoops vanilla whey protein
2 cups low-fat cottage cheese
¼ cup maple syrup
12 graham crackers
1½ cups Cocowhip, Cool Whip, or low-fat whipped topping (or whipped cream, if that's what you'd prefer)
9 pecans (for garnish)
1 tablespoon pumpkin spice
Pinch of salt
2 tablespoons vanilla pudding mix
Instructions
Blend your filling: Add the pumpkin puree, protein powder, cottage cheese, maple syrup, salt, pumpkin pie spice, and vanilla pudding mix to a blender or food processor. Blend until smooth.
Start building the icebox cake: In the bottom of a 9x9 square baking dish, start adding your graham cracker layer. Break pieces if needed to make sure that the whole bottom of the pan is covered. If you'd like, you can line your pan with plastic wrap first for easy removal!
Add some of the filling: Pour half of the pumpkin mixture over the graham crackers and use an offset spatula to spread it evenly.
Keep assembling your cake: Add the last layer of graham crackers to the pan, then pour the remaining pumpkin mixture on top and spread with your spatula.
Top the icebox cake with whipped topping: Spoon the whipped topping over the top of the icebox cake and spread with an offset spatula to smooth. Sprinkle a little pumpkin pie spice evenly over the top of the cake and place the pecans evenly across the top (you should end up with one pecan for each slice of icebox cake).
Chill: Refrigerate your icebox cake for at least 24 hours or freeze for 6-8 hours. Then, you’ll be able to slice into 9 even pieces and enjoy!
Nutrition Info (Per Serving - Makes 9 Servings)
Calories: 222
Protein: 12g
Carbs: 33g
Fat: 5g
Swaps & Substitutions
Make the filling more like mousse: Add an extra scoop of protein powder to thicken the pumpkin filling a bit and make it feel more like a mousse.
Swap out the graham crackers: If you’d like, you can add extra flavor by using crispy gingersnap cookies or even chocolate wafer cookies.
Switch up the sweetener: If you don’t want to use regular pure maple syrup, try sweetening with sugar-free maple syrup or honey instead.
Make it fancy: If you want to make this icebox cake extra special (maybe you're planning to serve it as part of your Thanksgiving dinner spread or for a special occasion), add a bit of dulce de leche or caramel sauce when you’re assembling your ice box cake (or add a drizzle over the top).

FAQs
-
If you can’t tolerate dairy, use a dairy-free pudding mix, plant-based whipped topping, and a plant-based, dairy-free Greek yogurt instead of the cottage cheese. It won’t be quite the same, but it’ll be a good approximation.
-
Pumpkin pie filling has added sweetener and seasonings, so it's not ideal for this recipe. Go for pure pumpkin!
-
For this recipe, I would recommend using a vanilla-flavored whey protein powder or a blend of protein powders that will thicken well. You want to be able to slice your icebox cake, so if the protein powder you use thickens the filling mixture, that will help!
If you opt for a plant-based protein powder, you may need to add some extra maple syrup to help balance everything out.
-
Your icebox cake will hold up well for up to 5 days in the fridge or up to about a week in the freezer. Letting it sit for a little extra time will just make it even better. If you’re storing your cake in the freezer, slice it into squares first, then freeze them individually in an airtight container or freezer-safe baggie, and then let the slice you’re going to eat thaw in the fridge for a little bit before digging in.
This sweet and creamy pumpkin icebox cake is the perfect make-ahead dessert recipe. It’s cozy, it’s creamy, and it’s packed with plenty of protein to help you hit your nutrition goals. Whether you’re hosting a get-together or just looking for a sweet treat to keep on hand this fall, this recipe is a surefire winner.

Pumpkin Icebox Cake
This easy pumpkin icebox cake is the ideal make-ahead dessert for your fall gatherings. Whether you’re looking for a sweet treat to keep stashed in the fridge or freezer or you’re looking for a real show-stopper, this protein-packed treat is just what you need.
Ingredients
- 1 can pumpkin purée
- 3 scoops vanilla whey protein
- 2 cups low-fat cottage cheese
- ¼ cup maple syrup
- 12 graham crackers
- 1½ cups Cocowhip, Cool Whip, or low-fat whipped topping (or whipped cream, if that's what you'd prefer)
- 9 pecans (for garnish)
- 1 tablespoon pumpkin spice
- Pinch of salt
- 2 tablespoons vanilla pudding mix
Instructions
- Blend your filling: Add the pumpkin puree, protein powder, cottage cheese, maple syrup, salt, pumpkin pie spice, and vanilla pudding mix to a blender or food processor. Blend until smooth.
- Start building the icebox cake: In the bottom of a 9x9 square baking dish, start adding your graham cracker layer. Break pieces if needed to make sure that the whole bottom of the pan is covered. If you'd like, you can line your pan with plastic wrap first for easy removal!
- Add some of the filling: Pour half of the pumpkin mixture over the graham crackers and use an offset spatula to spread it evenly.
- Keep assembling your cake: Add the last layer of graham crackers to the pan, then pour the remaining pumpkin mixture on top and spread with your spatula.
- Top the icebox cake with whipped topping: Spoon the whipped topping over the top of the icebox cake and spread with an offset spatula to smooth. Sprinkle a little pumpkin pie spice evenly over the top of the cake and place the pecans evenly across the top (you should end up with one pecan for each slice of icebox cake).
- Chill: Refrigerate your icebox cake for at least 24 hours or freeze for 6-8 hours. Then, you’ll be able to slice into 9 even pieces and enjoy!
Nutrition Facts
Calories
222Fat
5 gCarbs
33 gProtein
12 g